Getting Started with Medusa POS
· 7 min read
What you need
To get started, you will need:
- A Windows, macOS, or Linux computer at the checkout counter
- A running Medusa store (v2.15.x) with products and a sales channel set up
- Your Medusa Admin login (email and password)
Optional hardware (recommended for a full retail setup):
- A network thermal printer - an 80 mm receipt printer connected to your Wi-Fi or Ethernet network (for example, Epson TM-series or BIXOLON models)
- A USB barcode scanner - any standard scanner that plugs into a USB port and acts like a keyboard
- A cash drawer - connected to your thermal printer via the standard RJ-11 cable
Get started - setup in minutes
- Download and install the app from pos.nari.ge - choose the version for your operating system.
- Enter your store address - on first launch, the app asks for your Medusa backend URL
(for example,
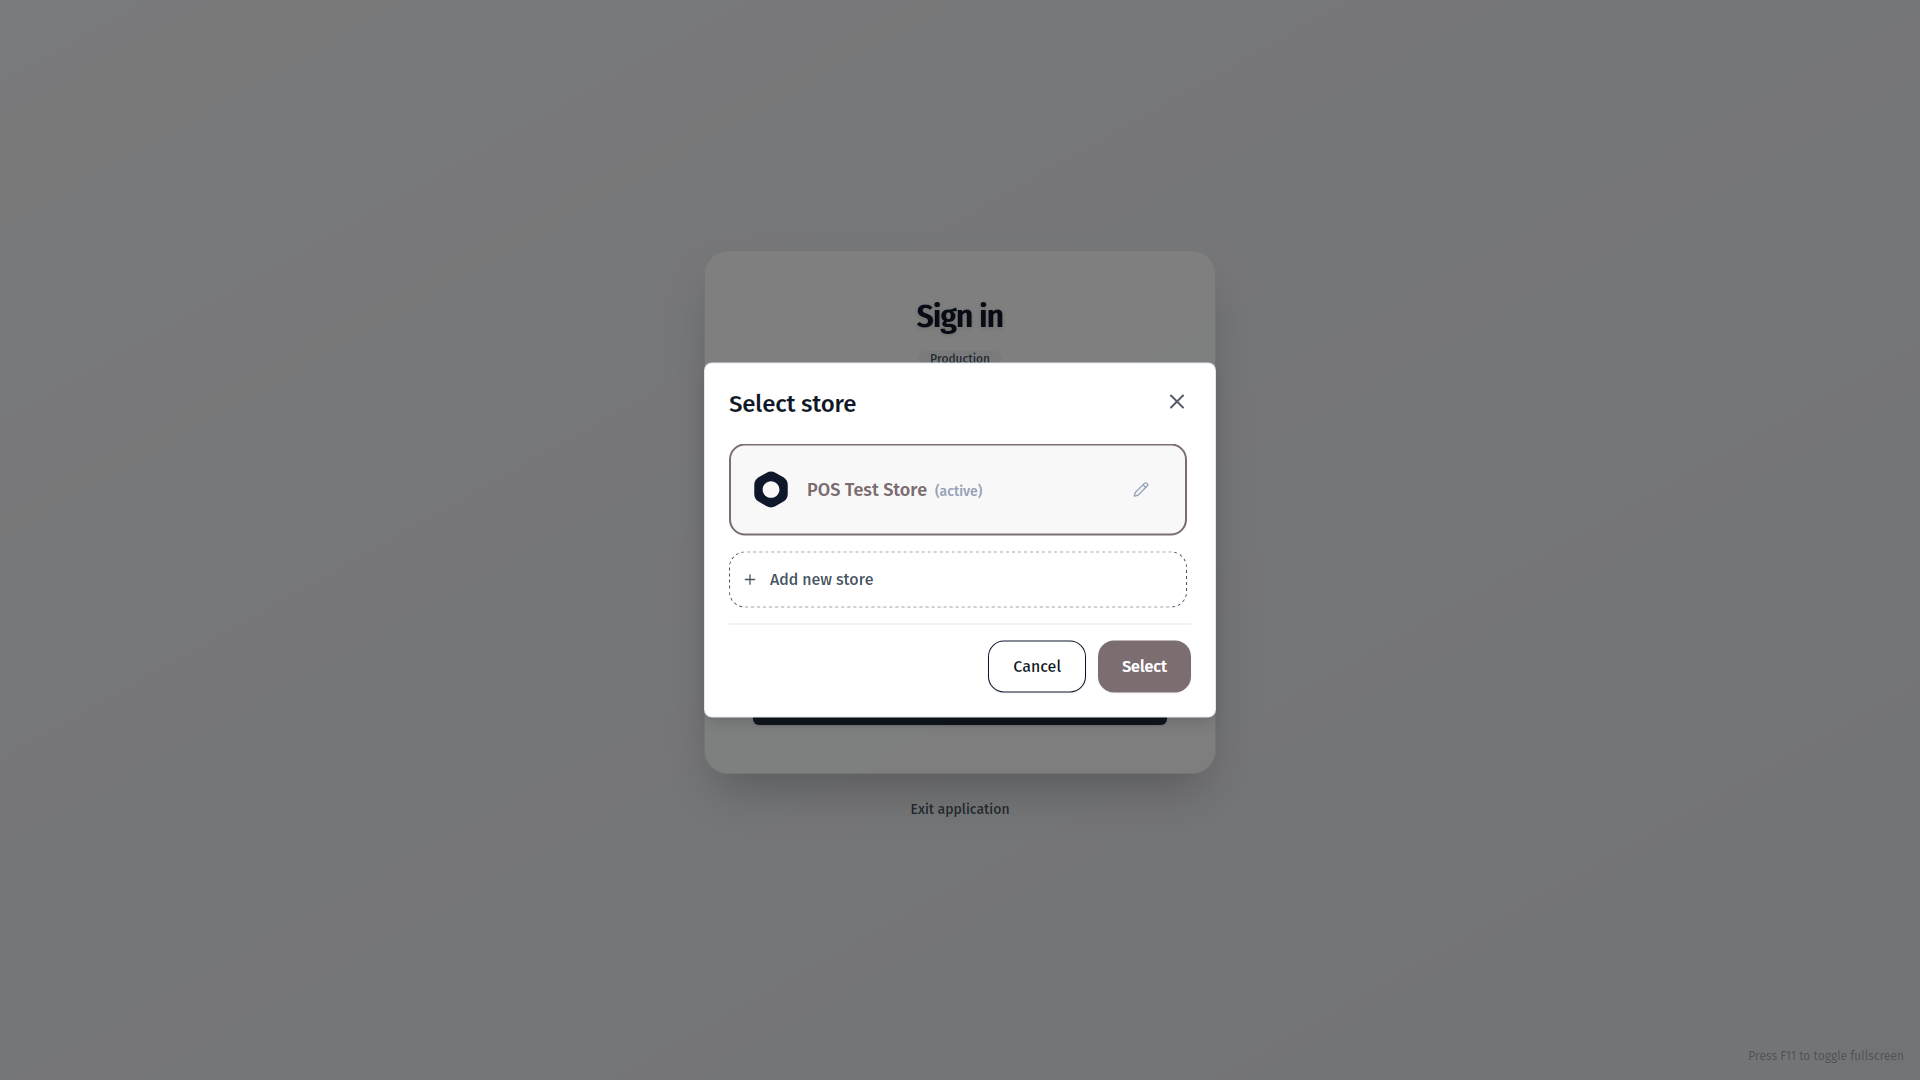
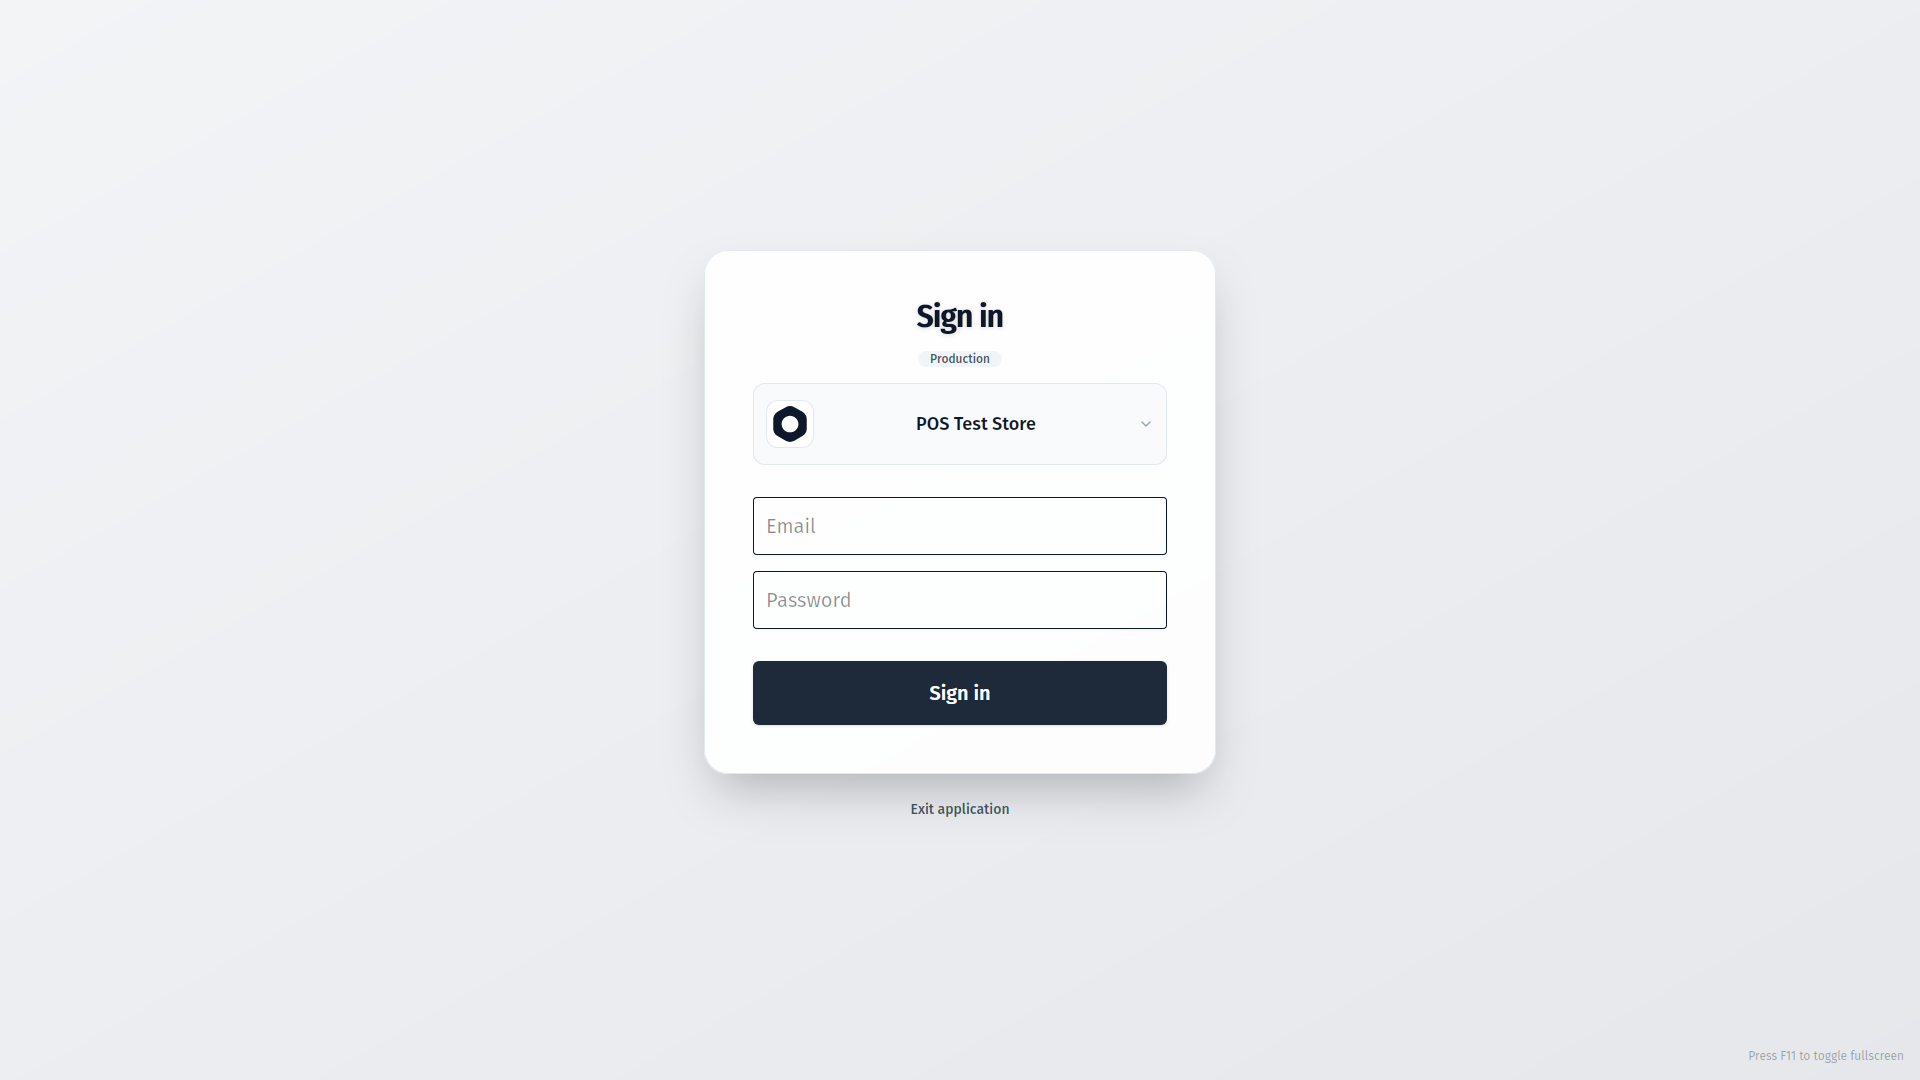
https://admin.mystore.com). Type it in and save. You can add more stores later under Settings. - Sign in with your Medusa Admin email and password.
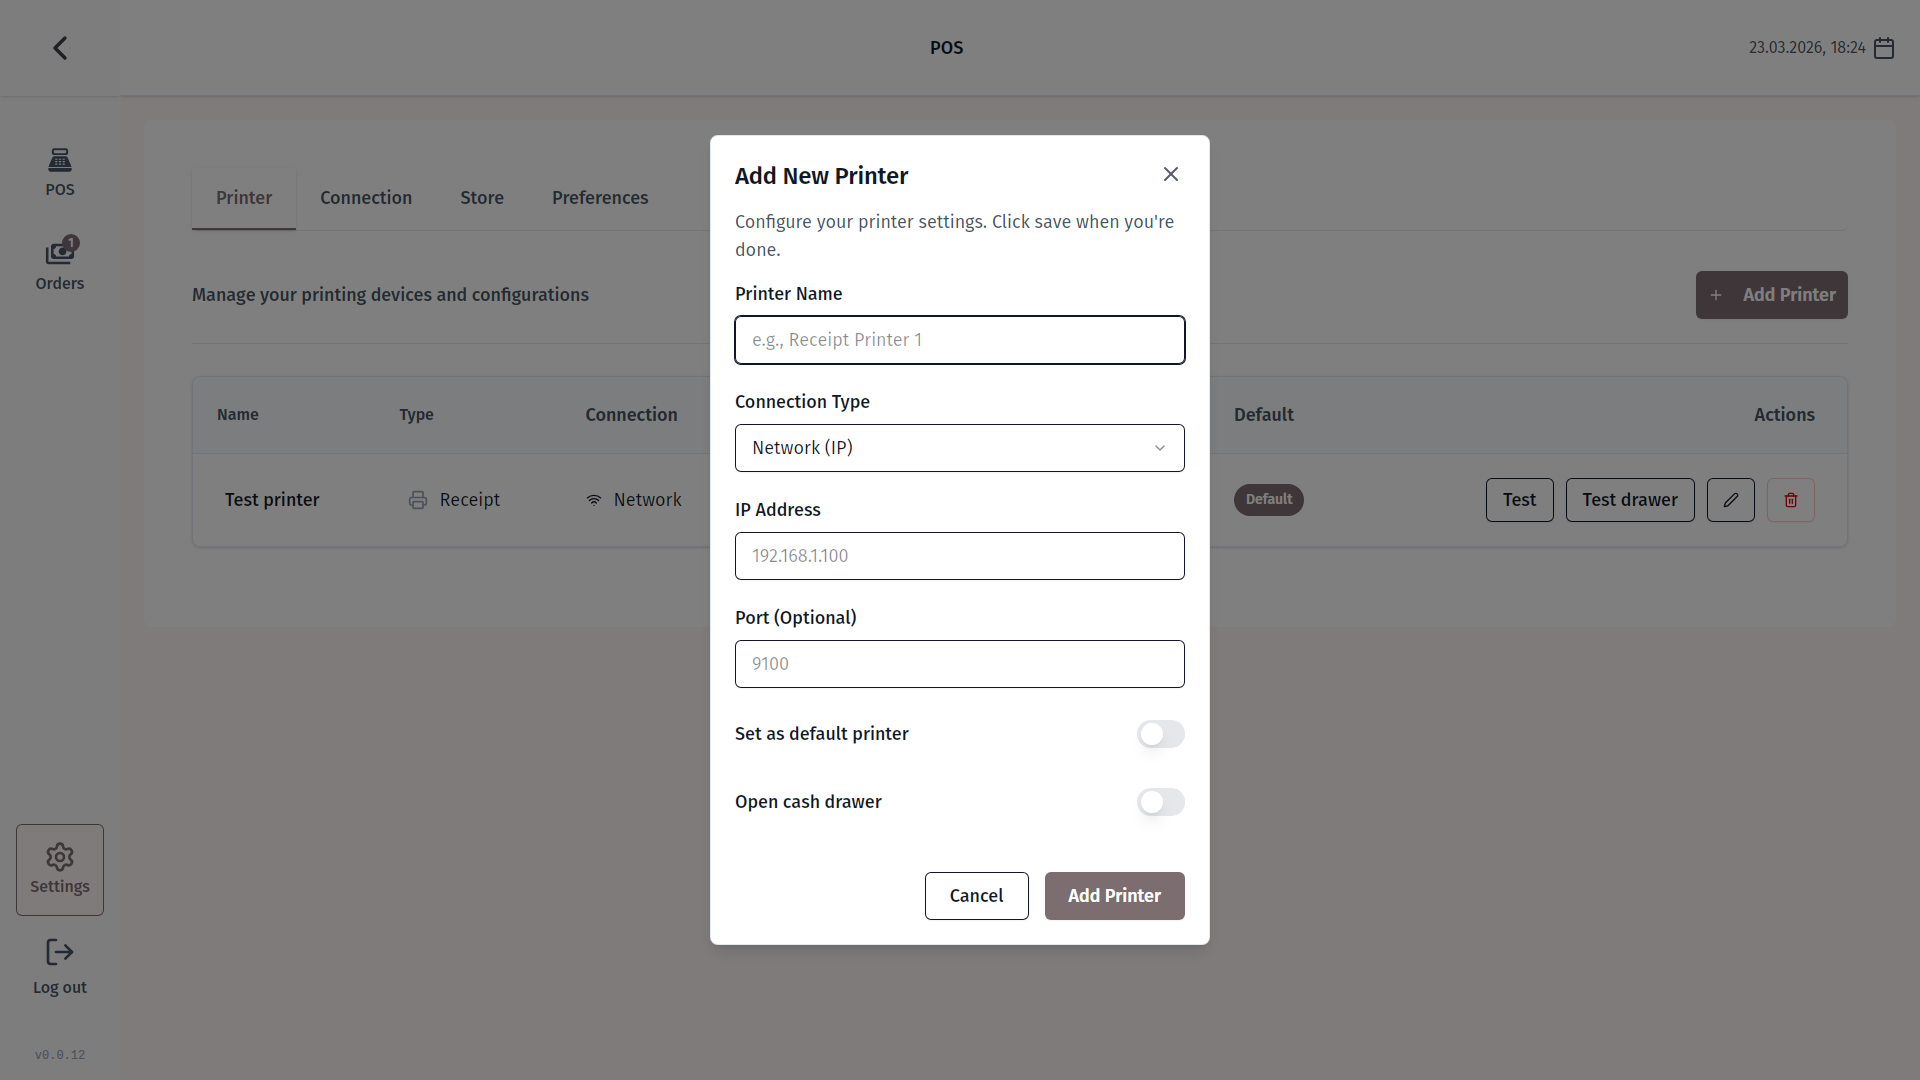
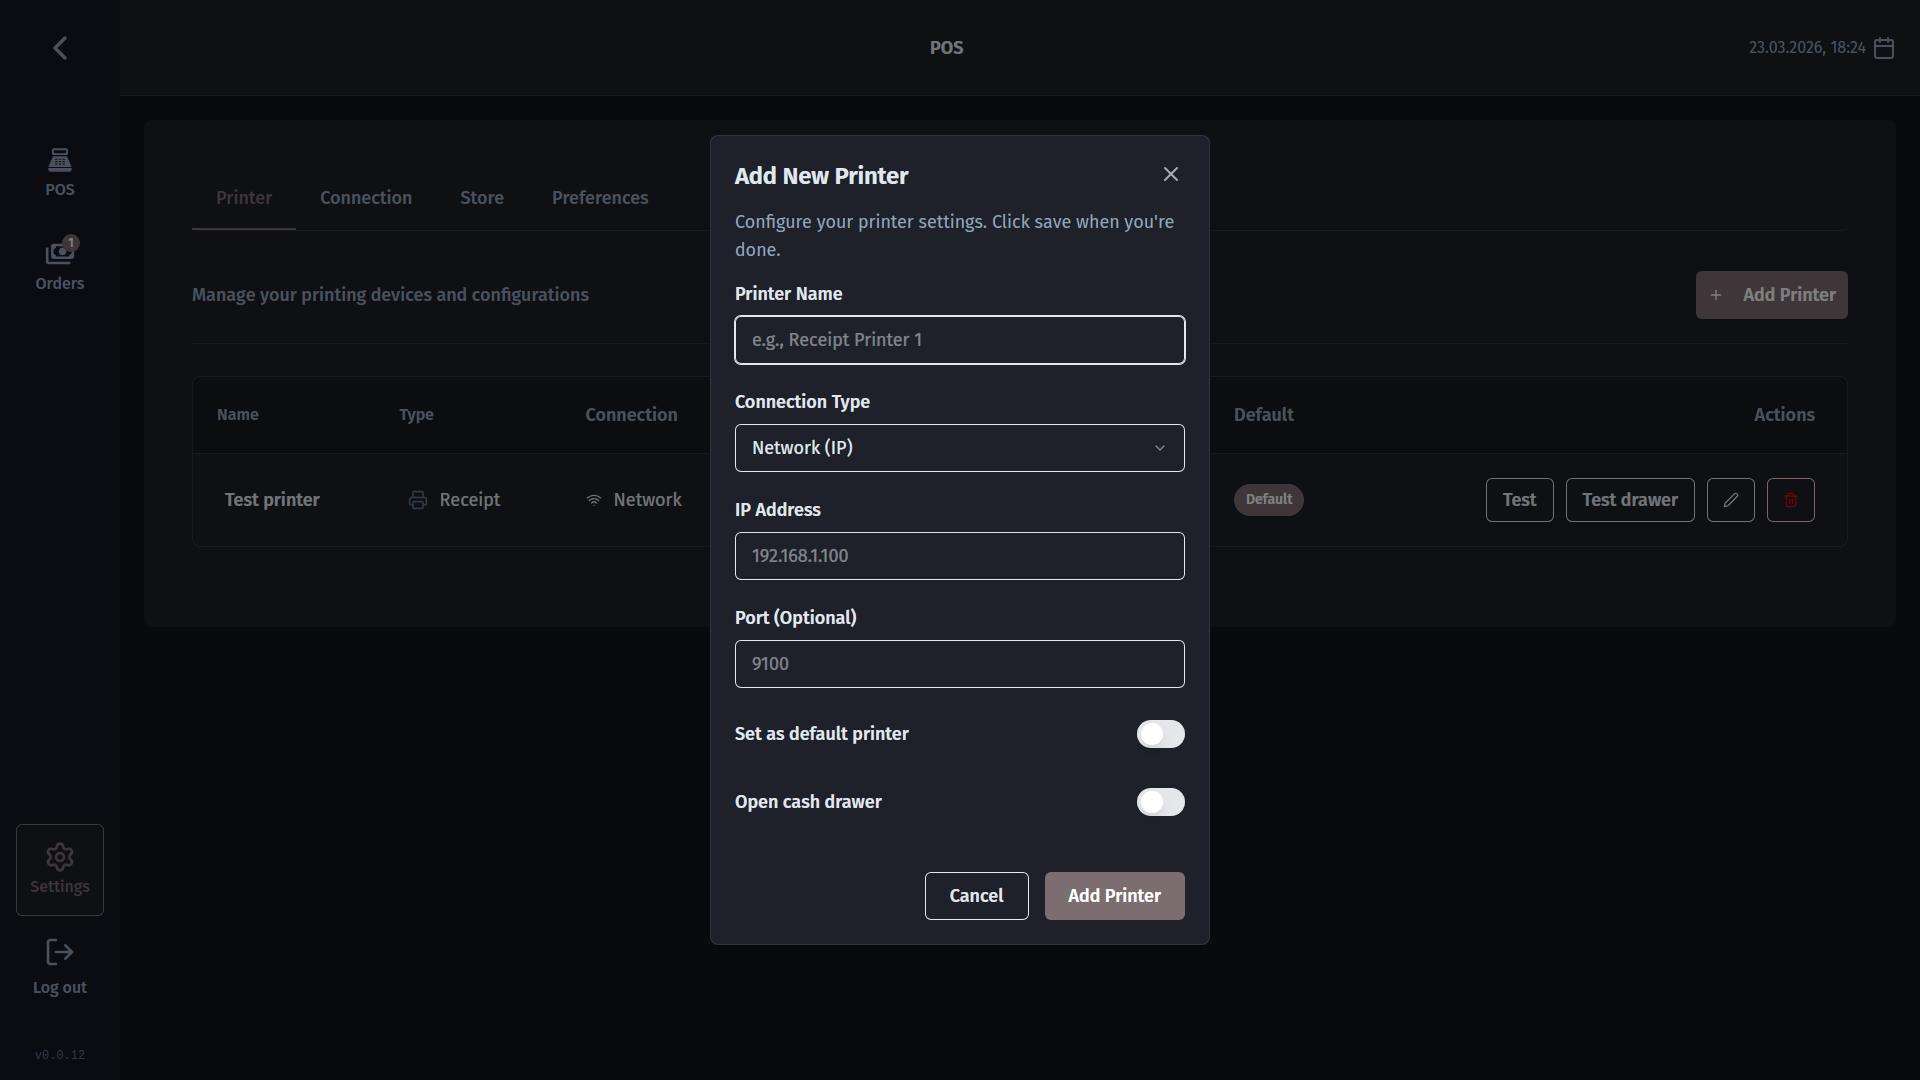
- Add your printer - open Settings -> Printers, tap Add printer, enter the printer's IP address, and run a test print to confirm it is working.
- Test the cash drawer - from the same printer settings screen, tap Test drawer. If a drawer is connected to the printer, it should pop open.
- Start selling - go to the Checkout screen, search or scan your first product, and you are ready.
Daily checkout flow
Once you are set up, a typical sale takes about 30 seconds:
- Pick your store and sign in. If you have more than one location, choose the right one from the dropdown, then enter your credentials.
- Find and add products. On the Checkout screen, scan the barcode on the product packaging or type the name in the search bar. Tap to add each item to the cart.
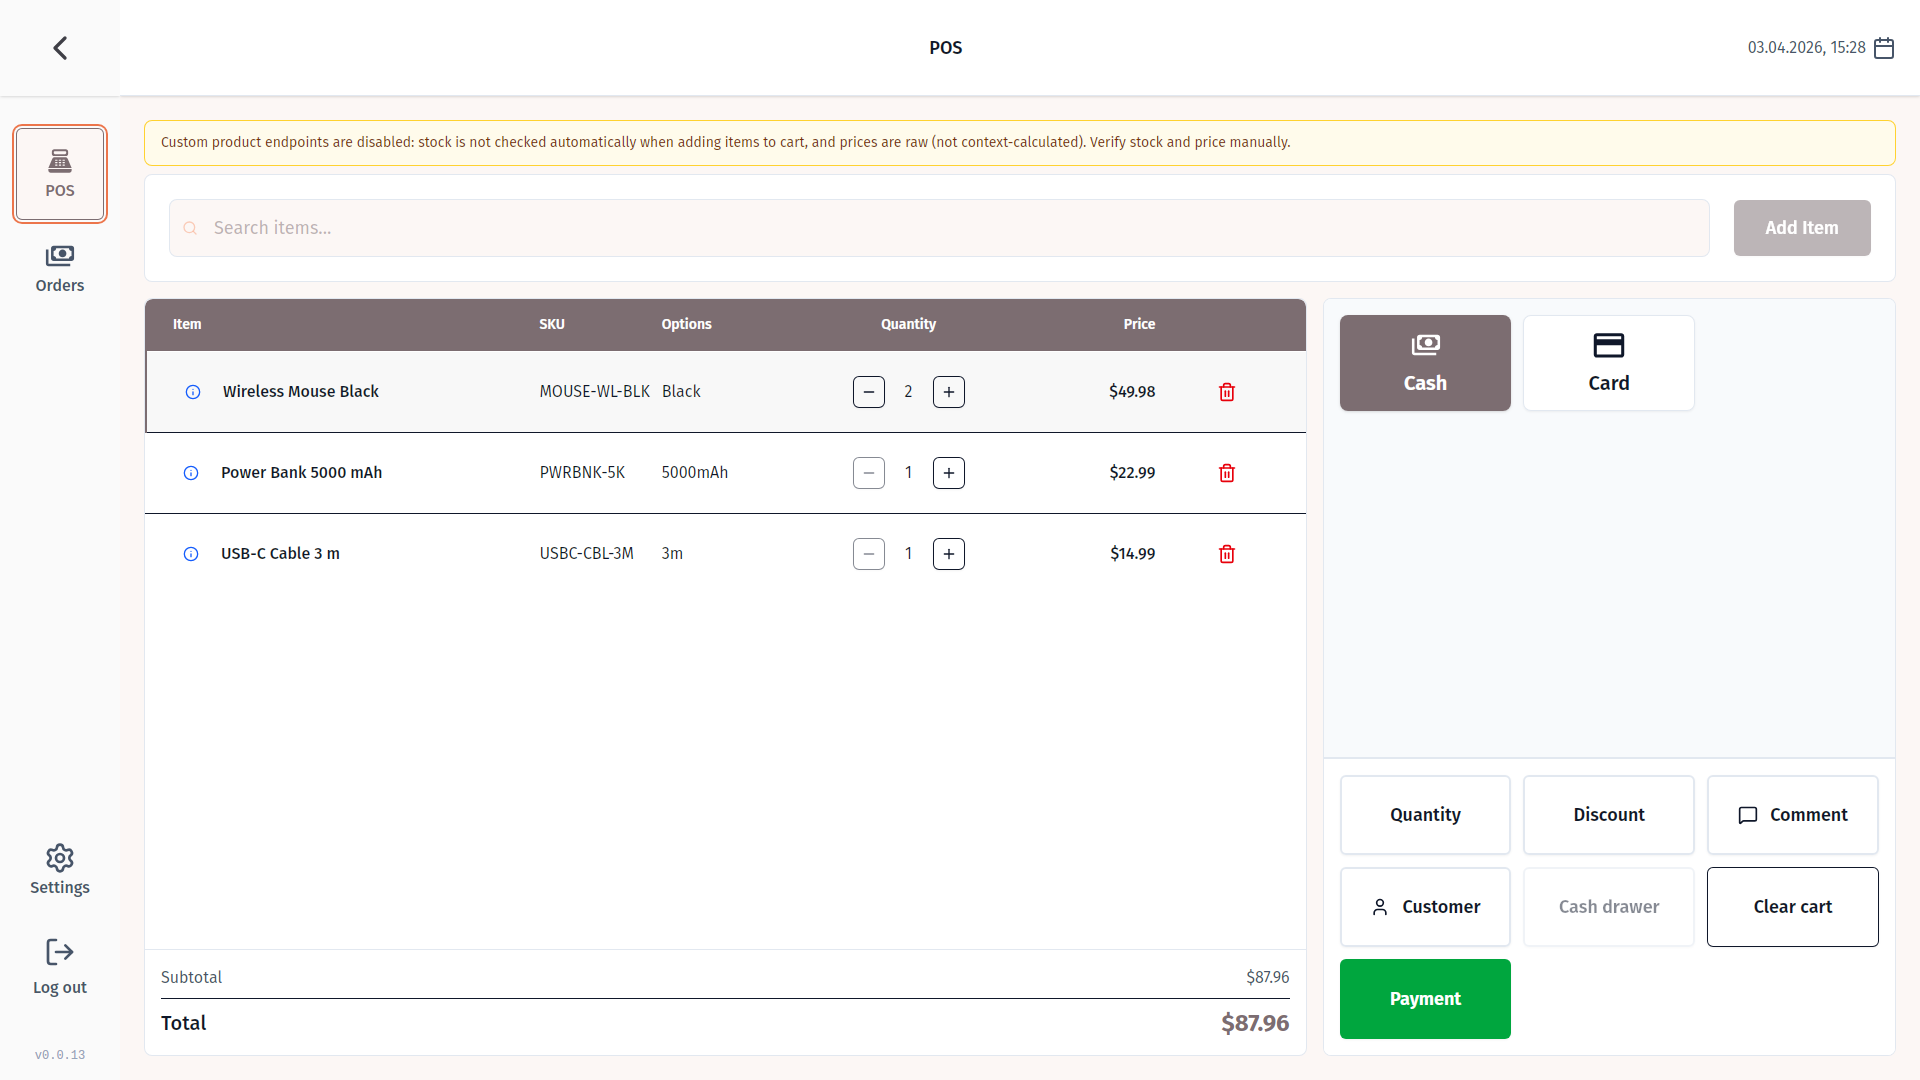
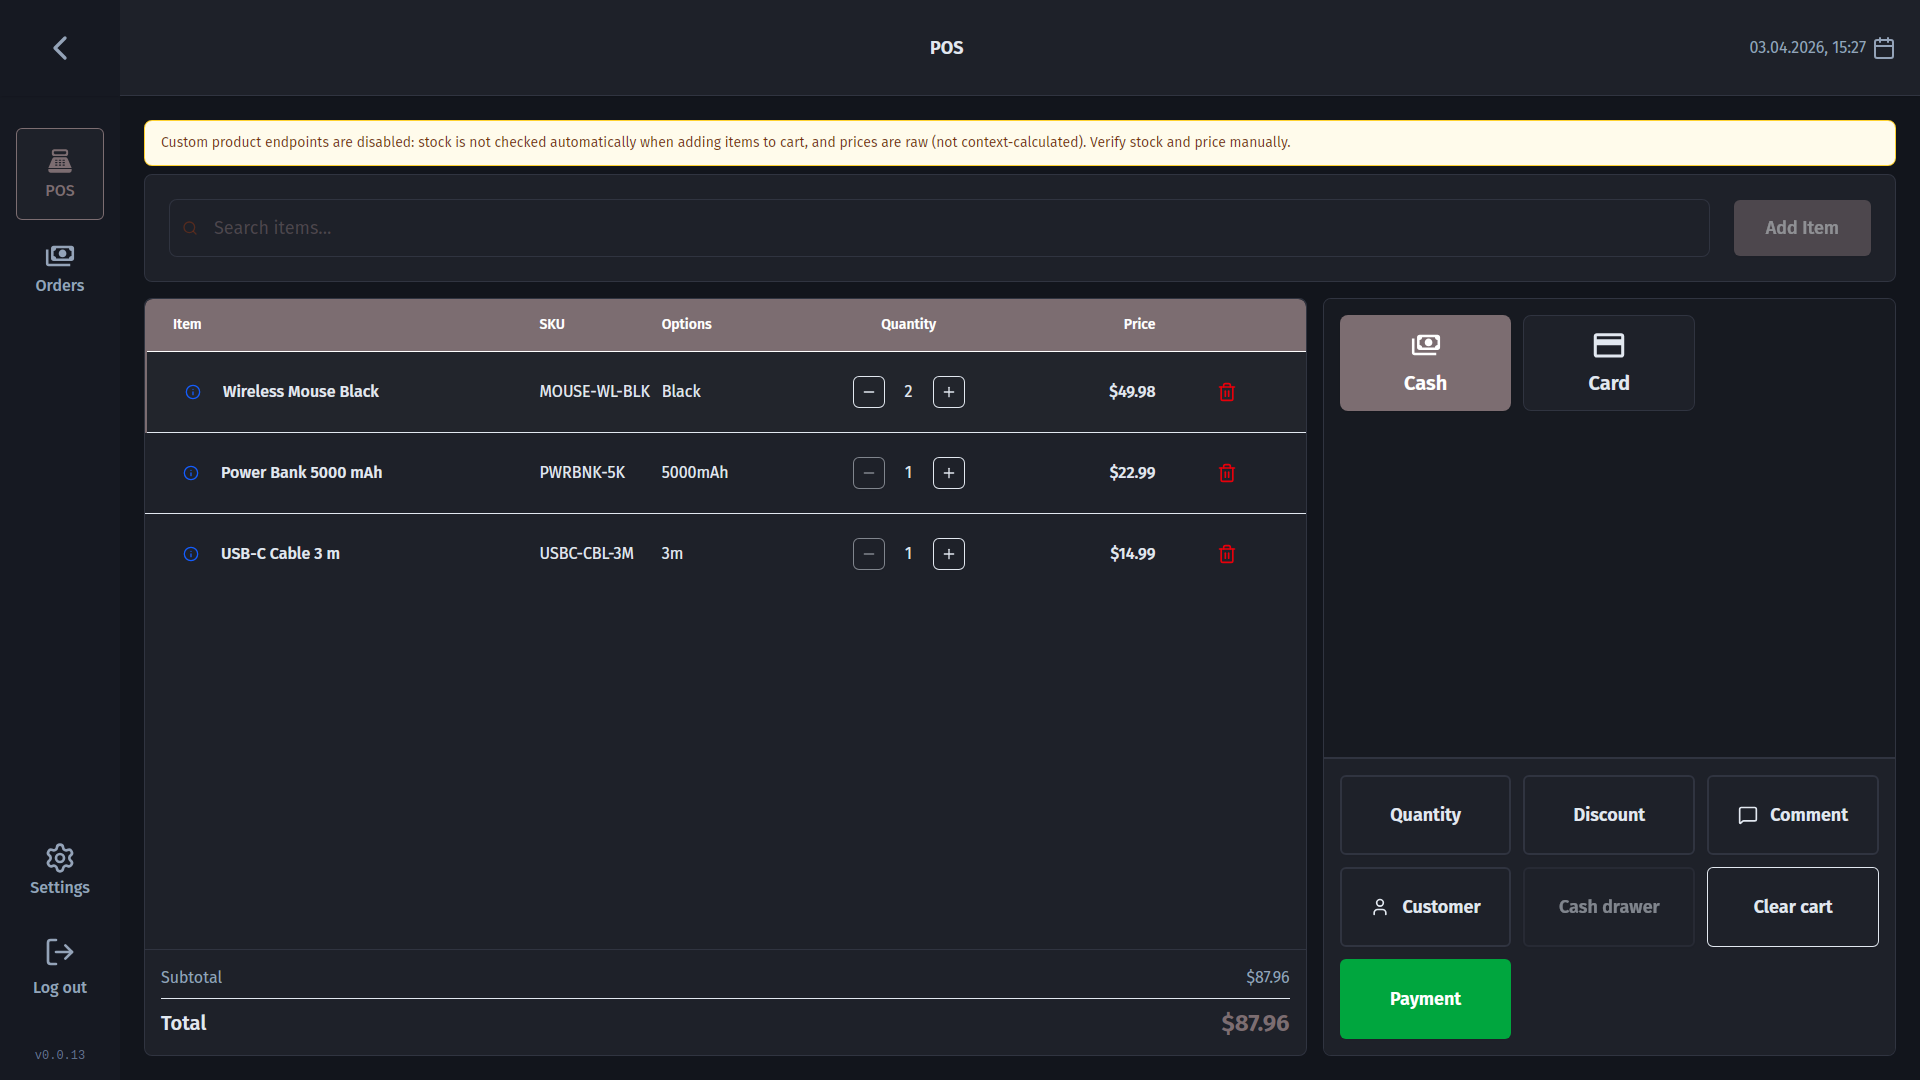
- Review the cart. Adjust quantities or apply a discount if needed. The order total updates immediately.
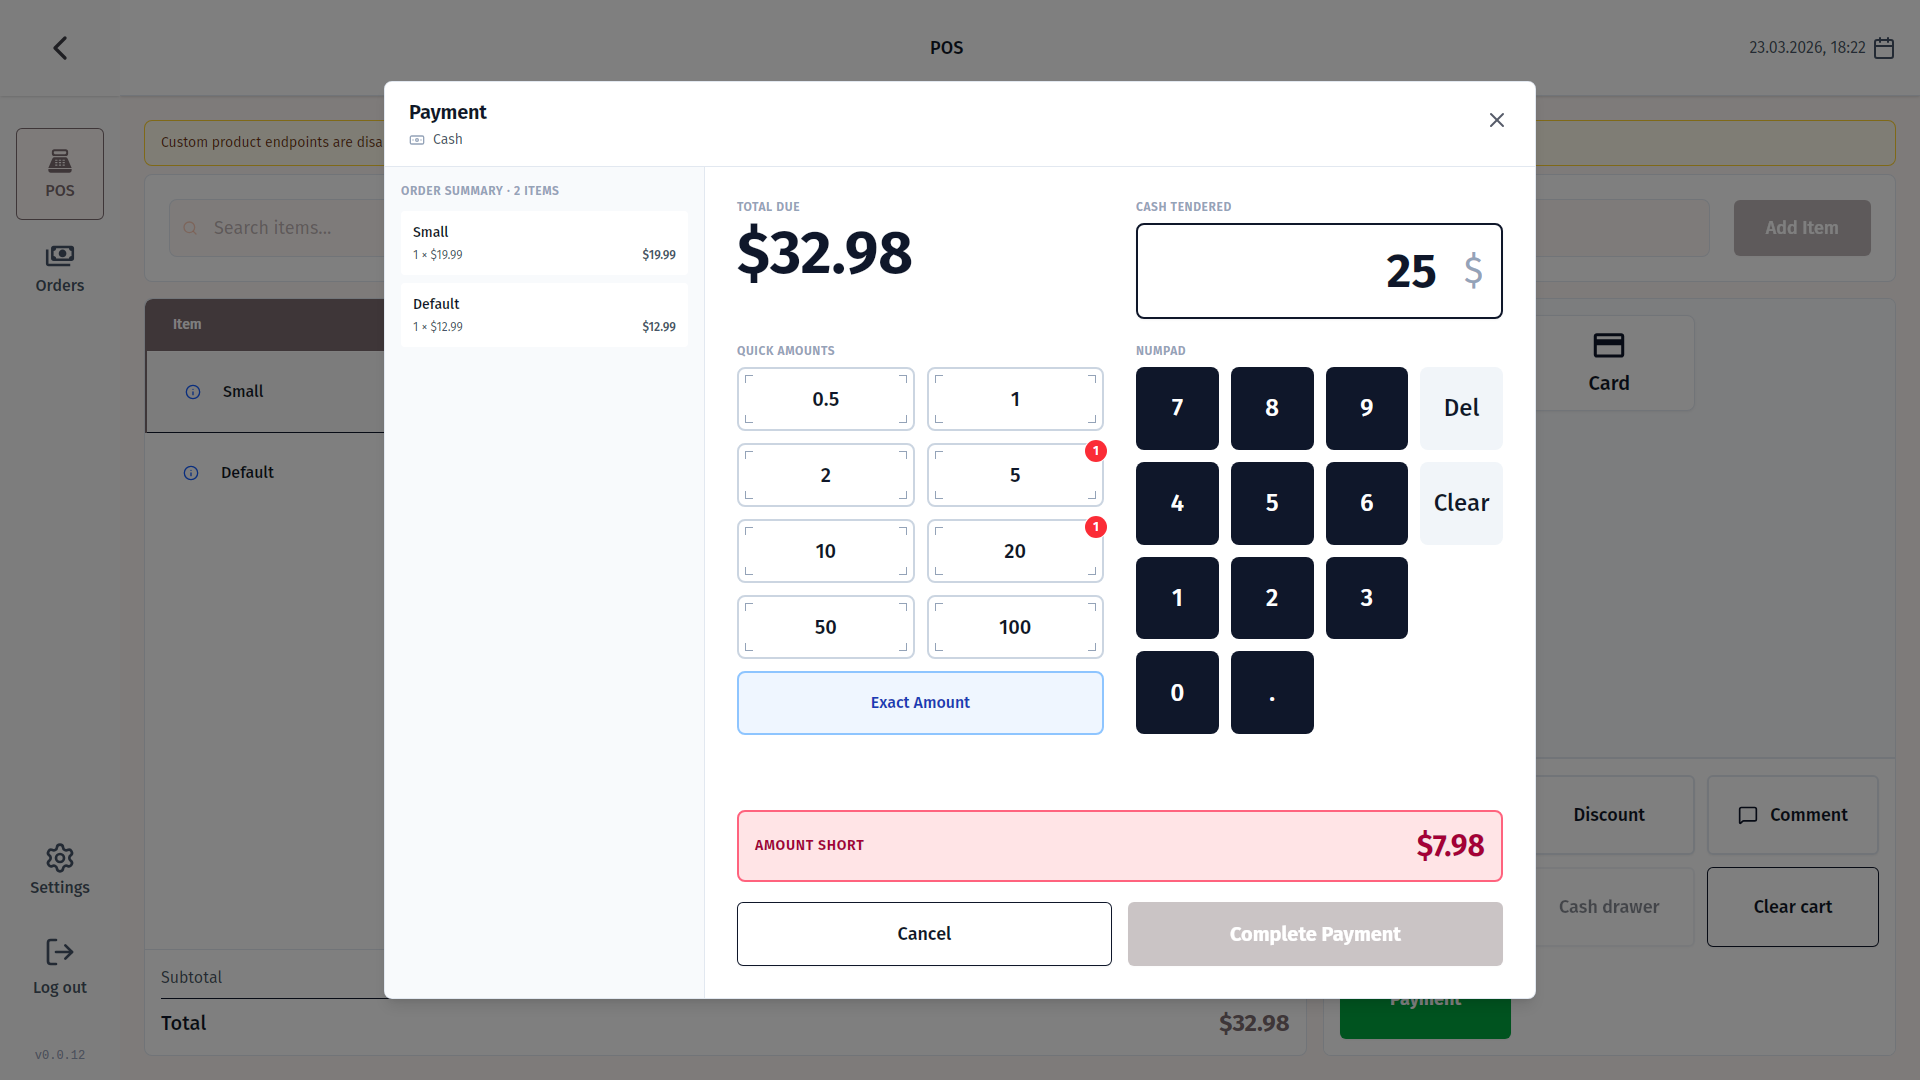
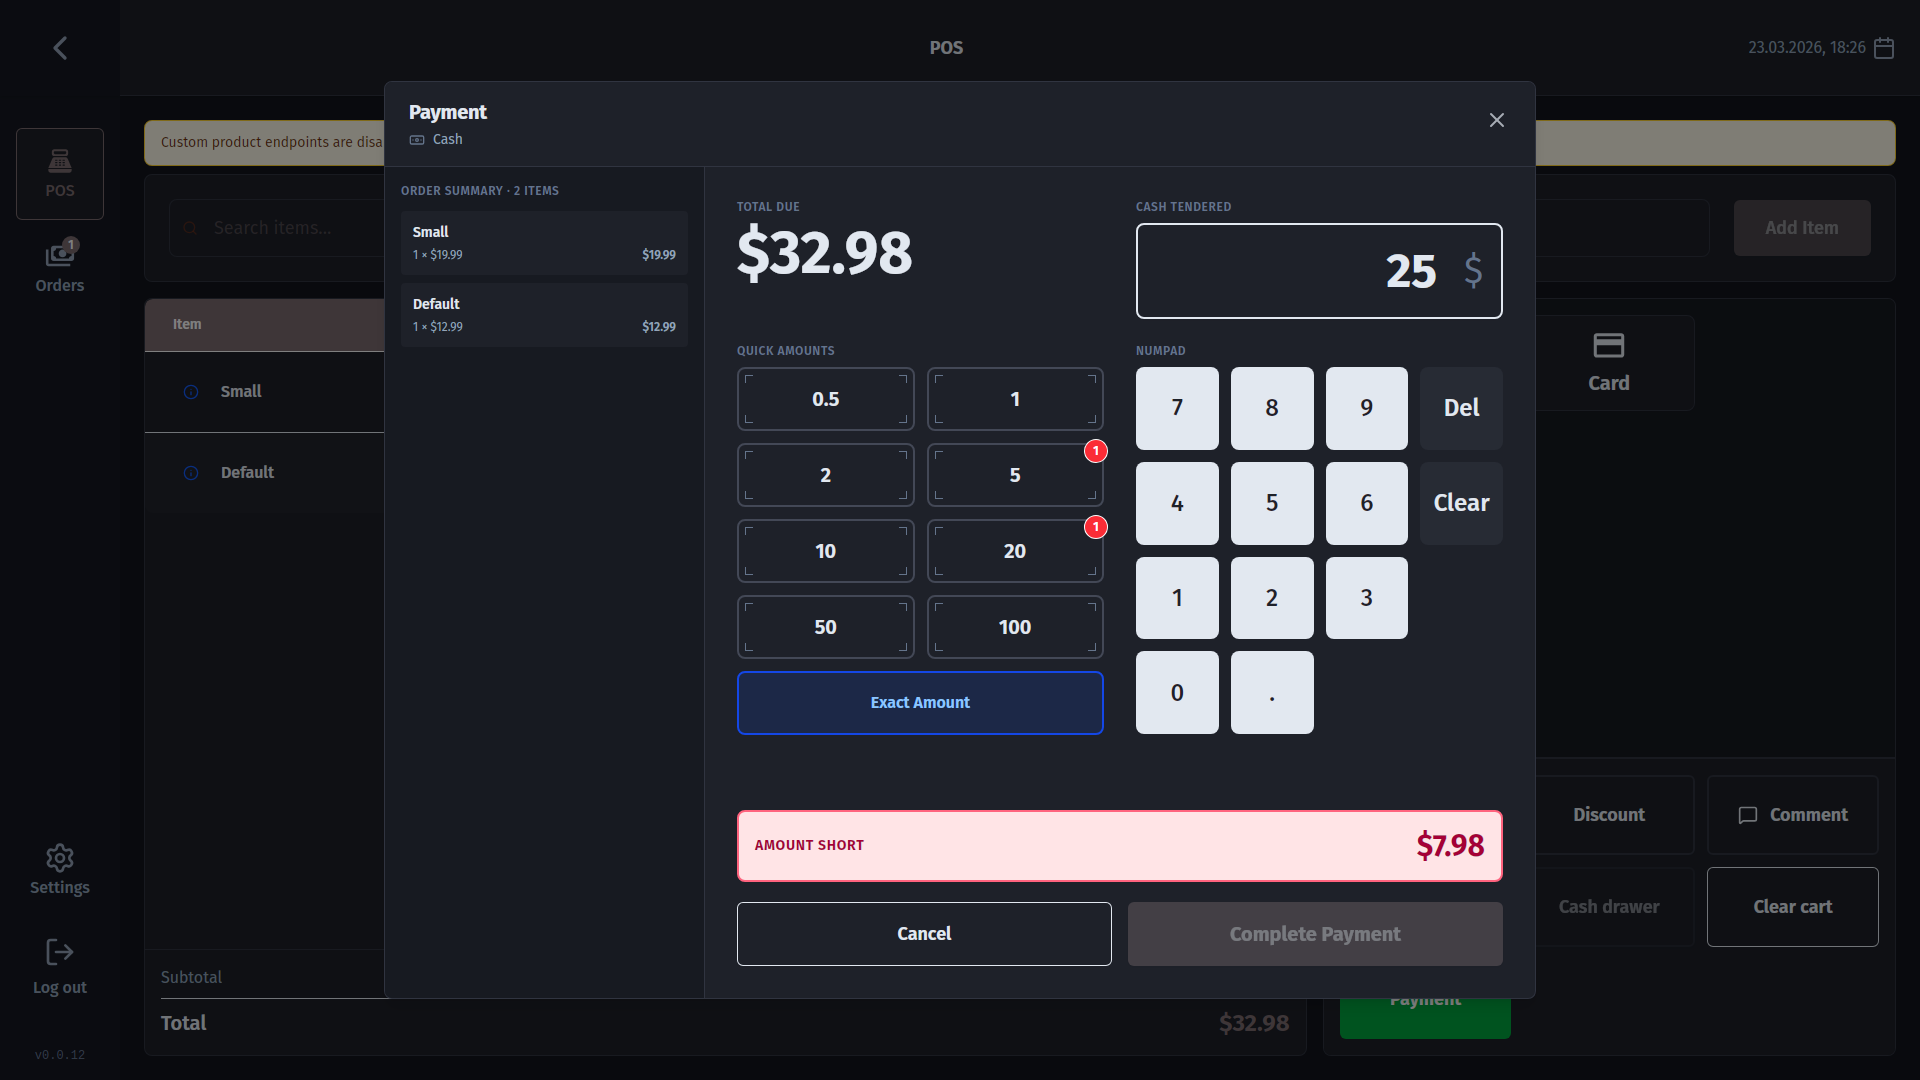
- Tap Charge. A payment window opens. Enter the cash received - the change is calculated for you - then confirm.
- Receipt prints; drawer opens if configured. The receipt prints right after payment. If a cash drawer is connected and enabled in your printer settings, it opens at the same time.
- Order saved. The completed sale appears in your Medusa order history immediately.
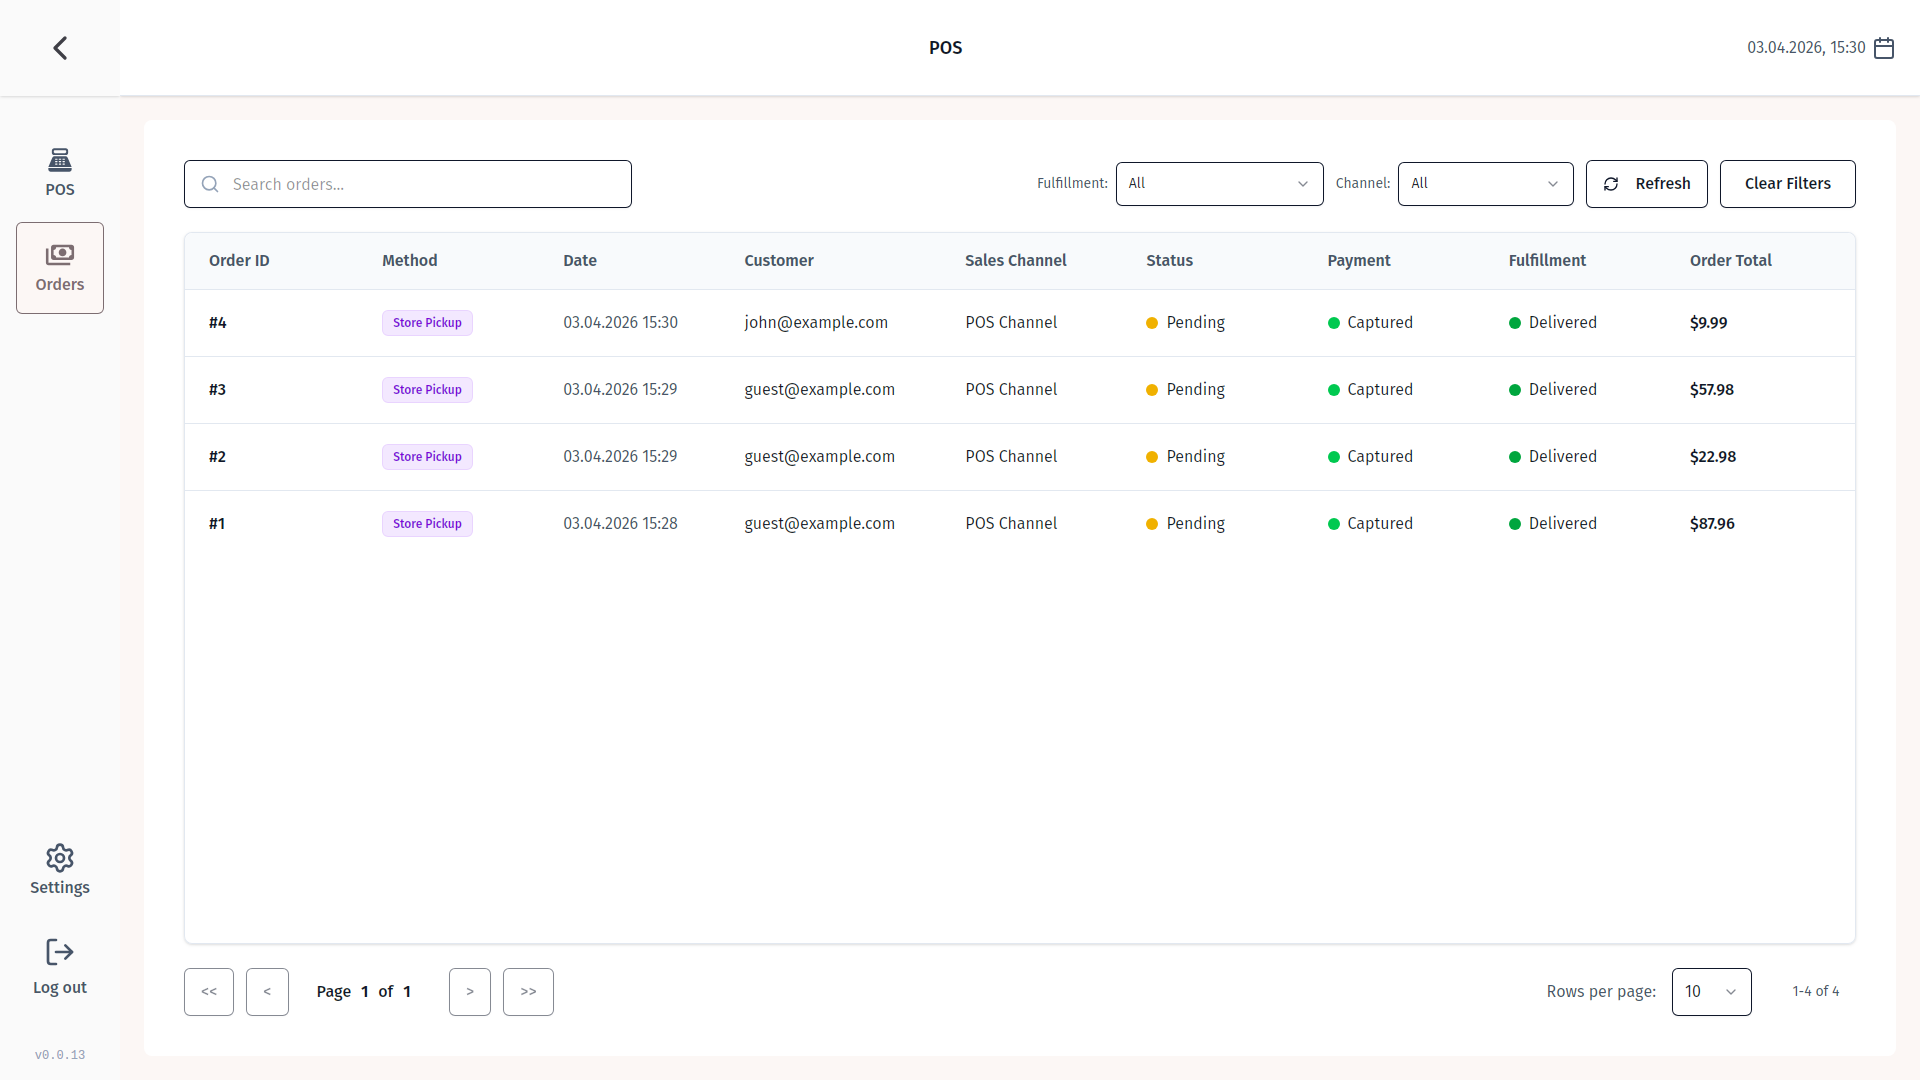
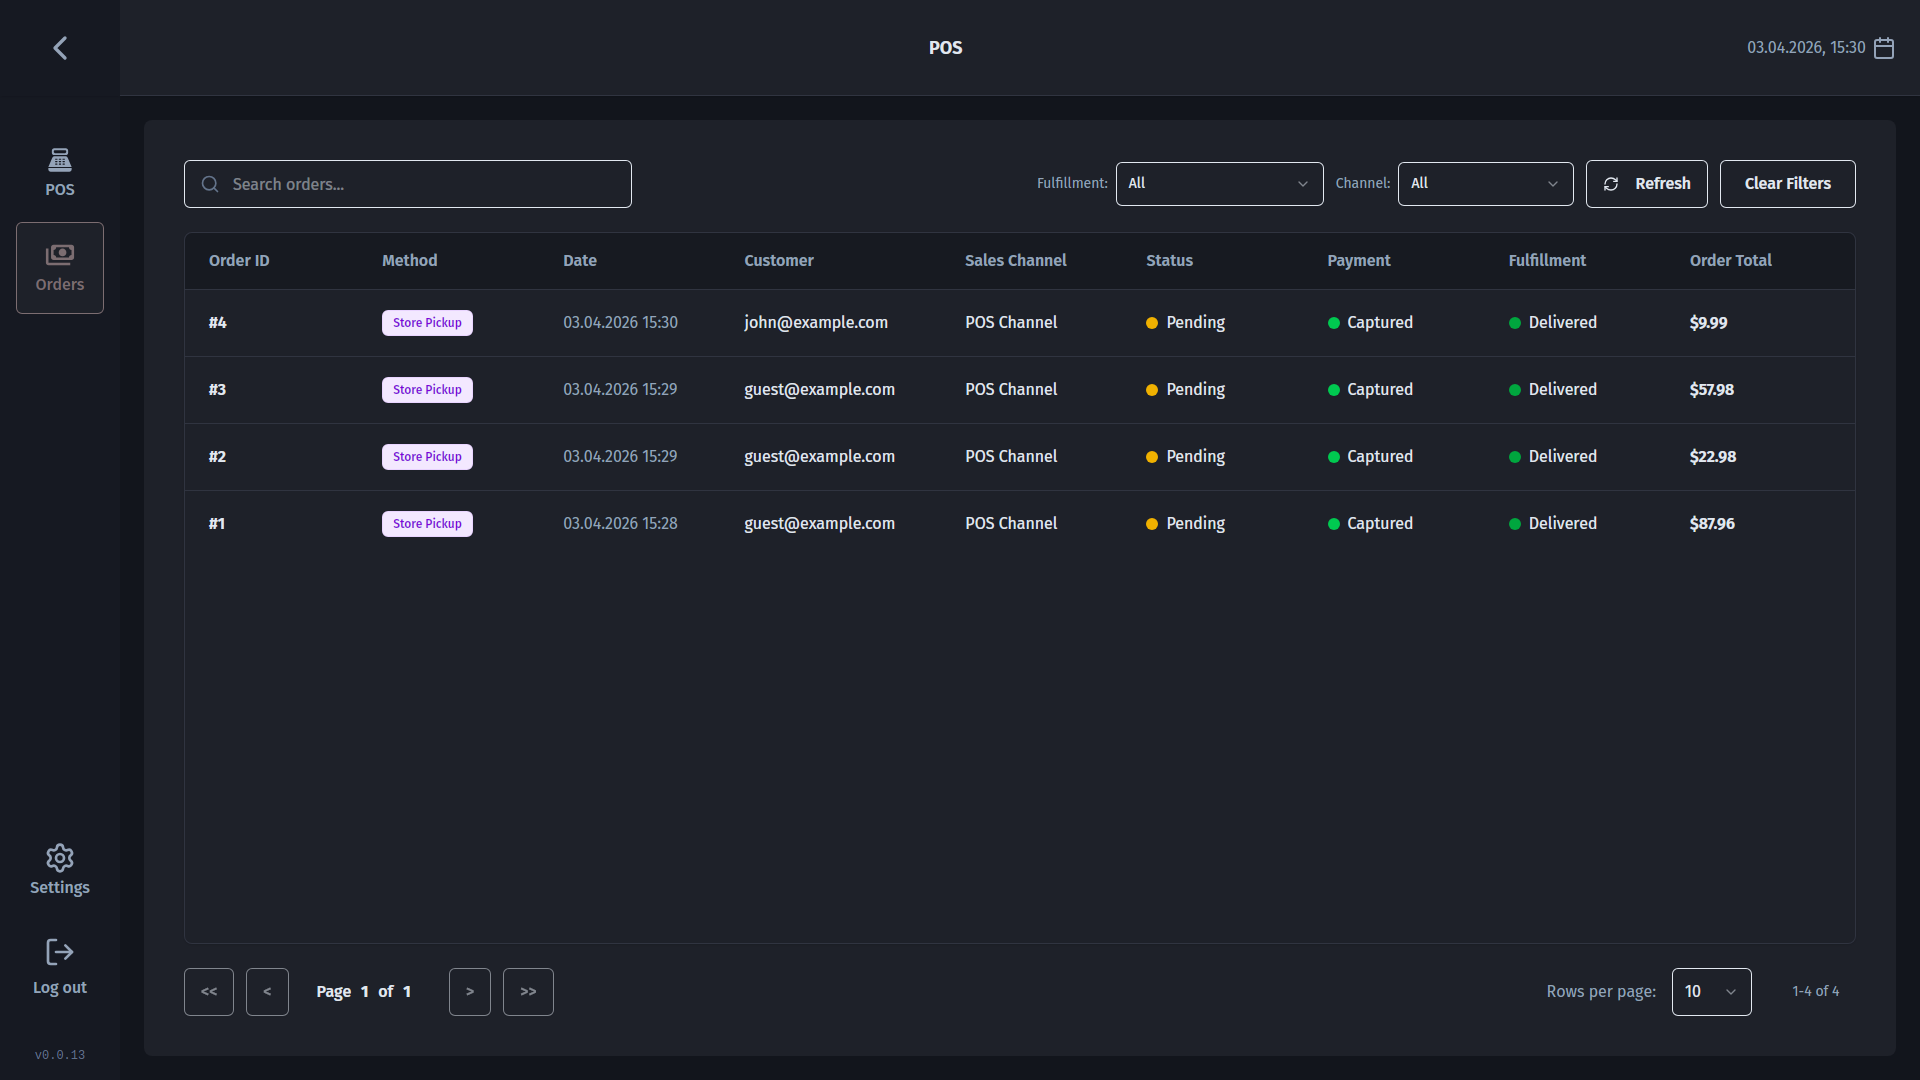
Checking past orders
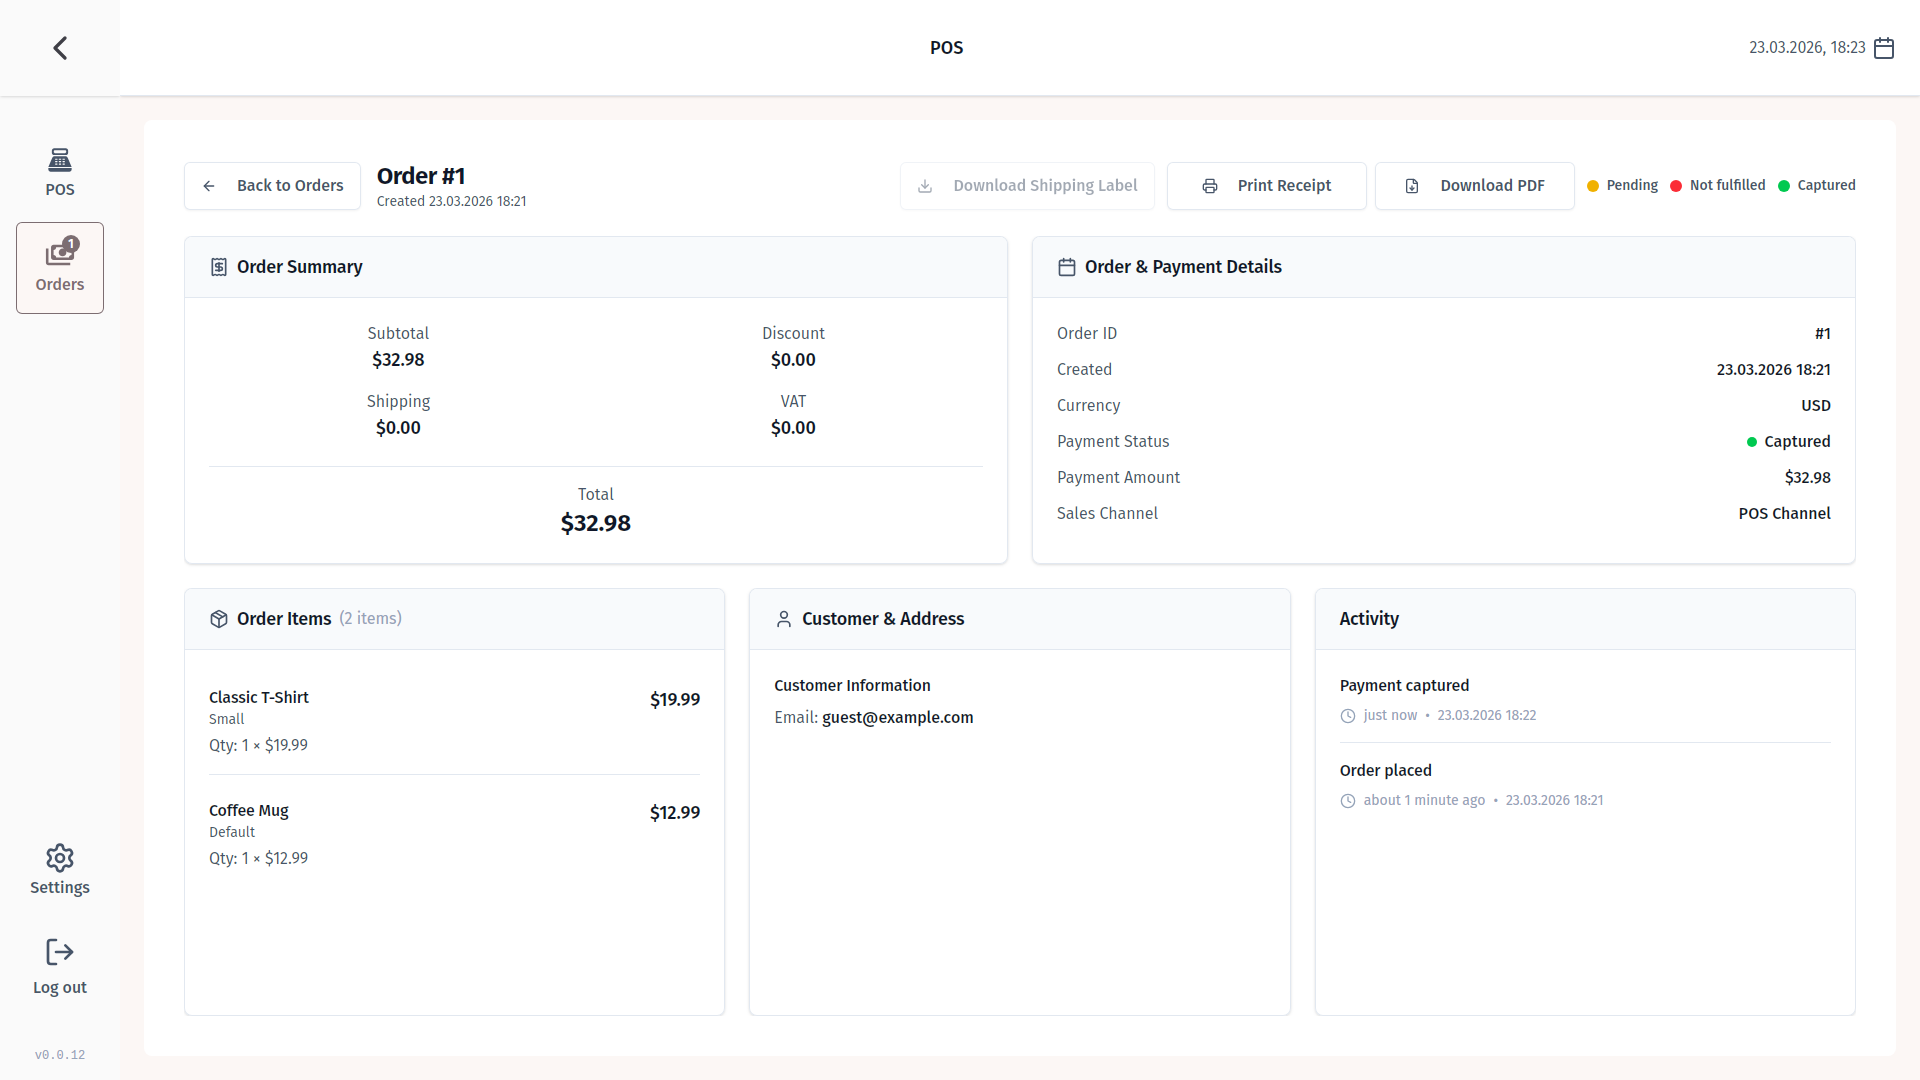
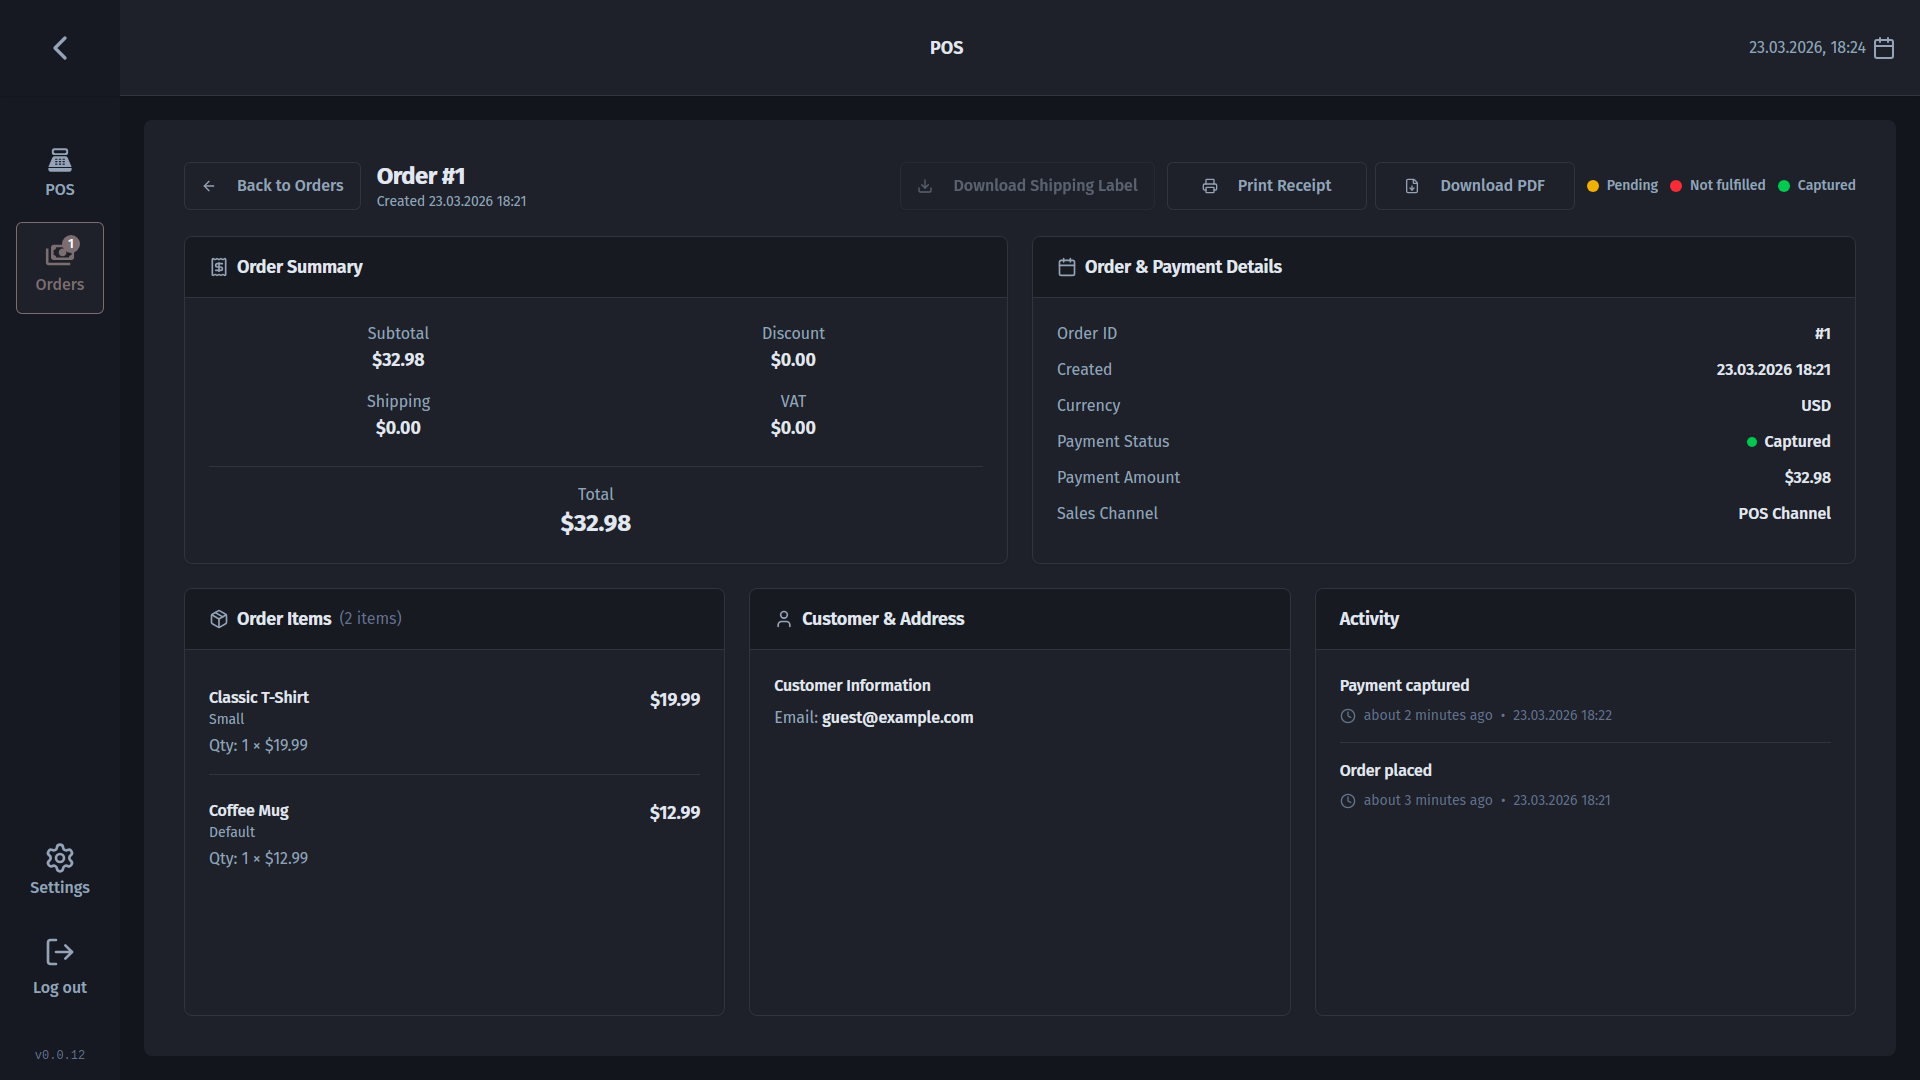
Every completed transaction is stored and searchable. Tap Orders in the sidebar to browse your sales history, use the search bar or filter chips to find a specific order, and tap any row to see the full detail - items, totals, and payment method.
You can reprint a receipt from the order detail screen at any time.
Settings and printers
Everything you need to configure lives under Settings:
- Store - add, rename, or remove Medusa backend addresses. Multi-location shops can add each store here and switch between them at login.
- Printers - add a printer by entering its IP address and port. Mark a default, run a test print, and test the cash drawer trigger from the same screen. Network printers (Wi-Fi or Ethernet) are the most reliable option.
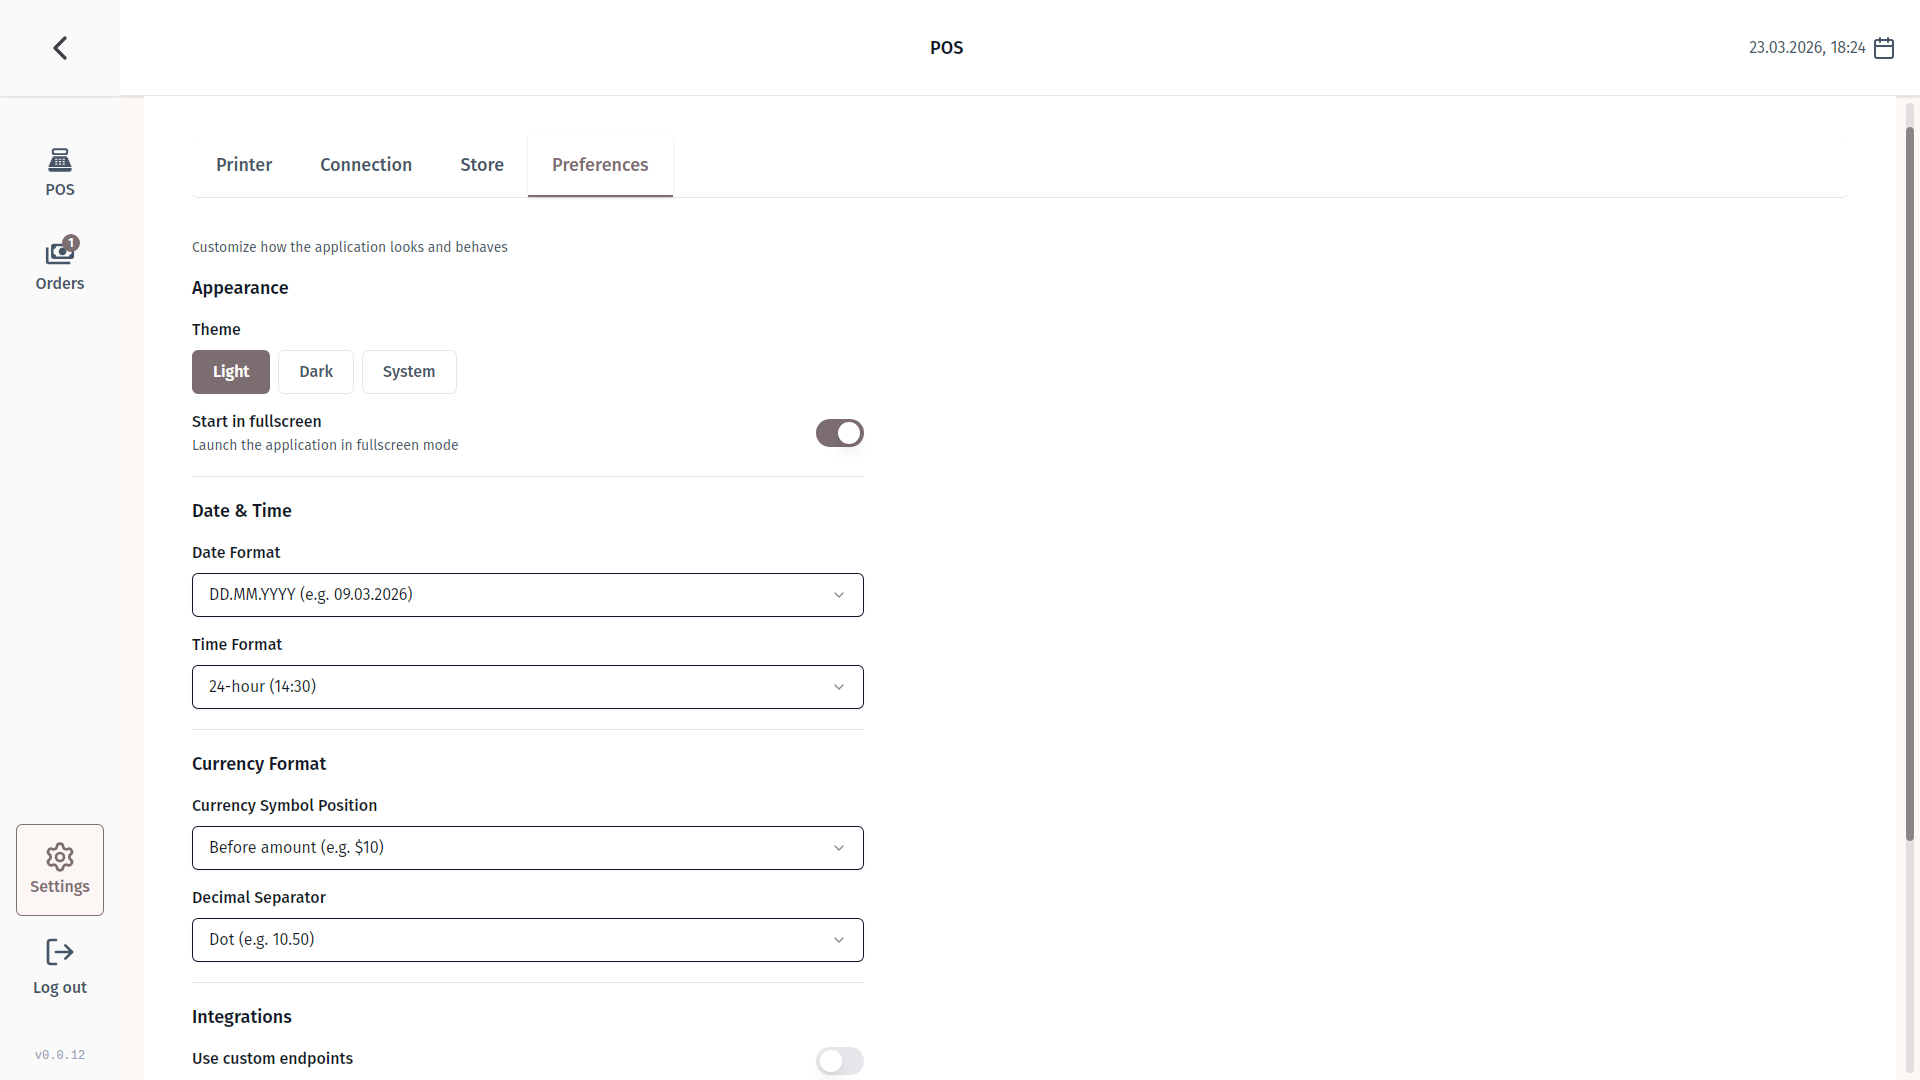
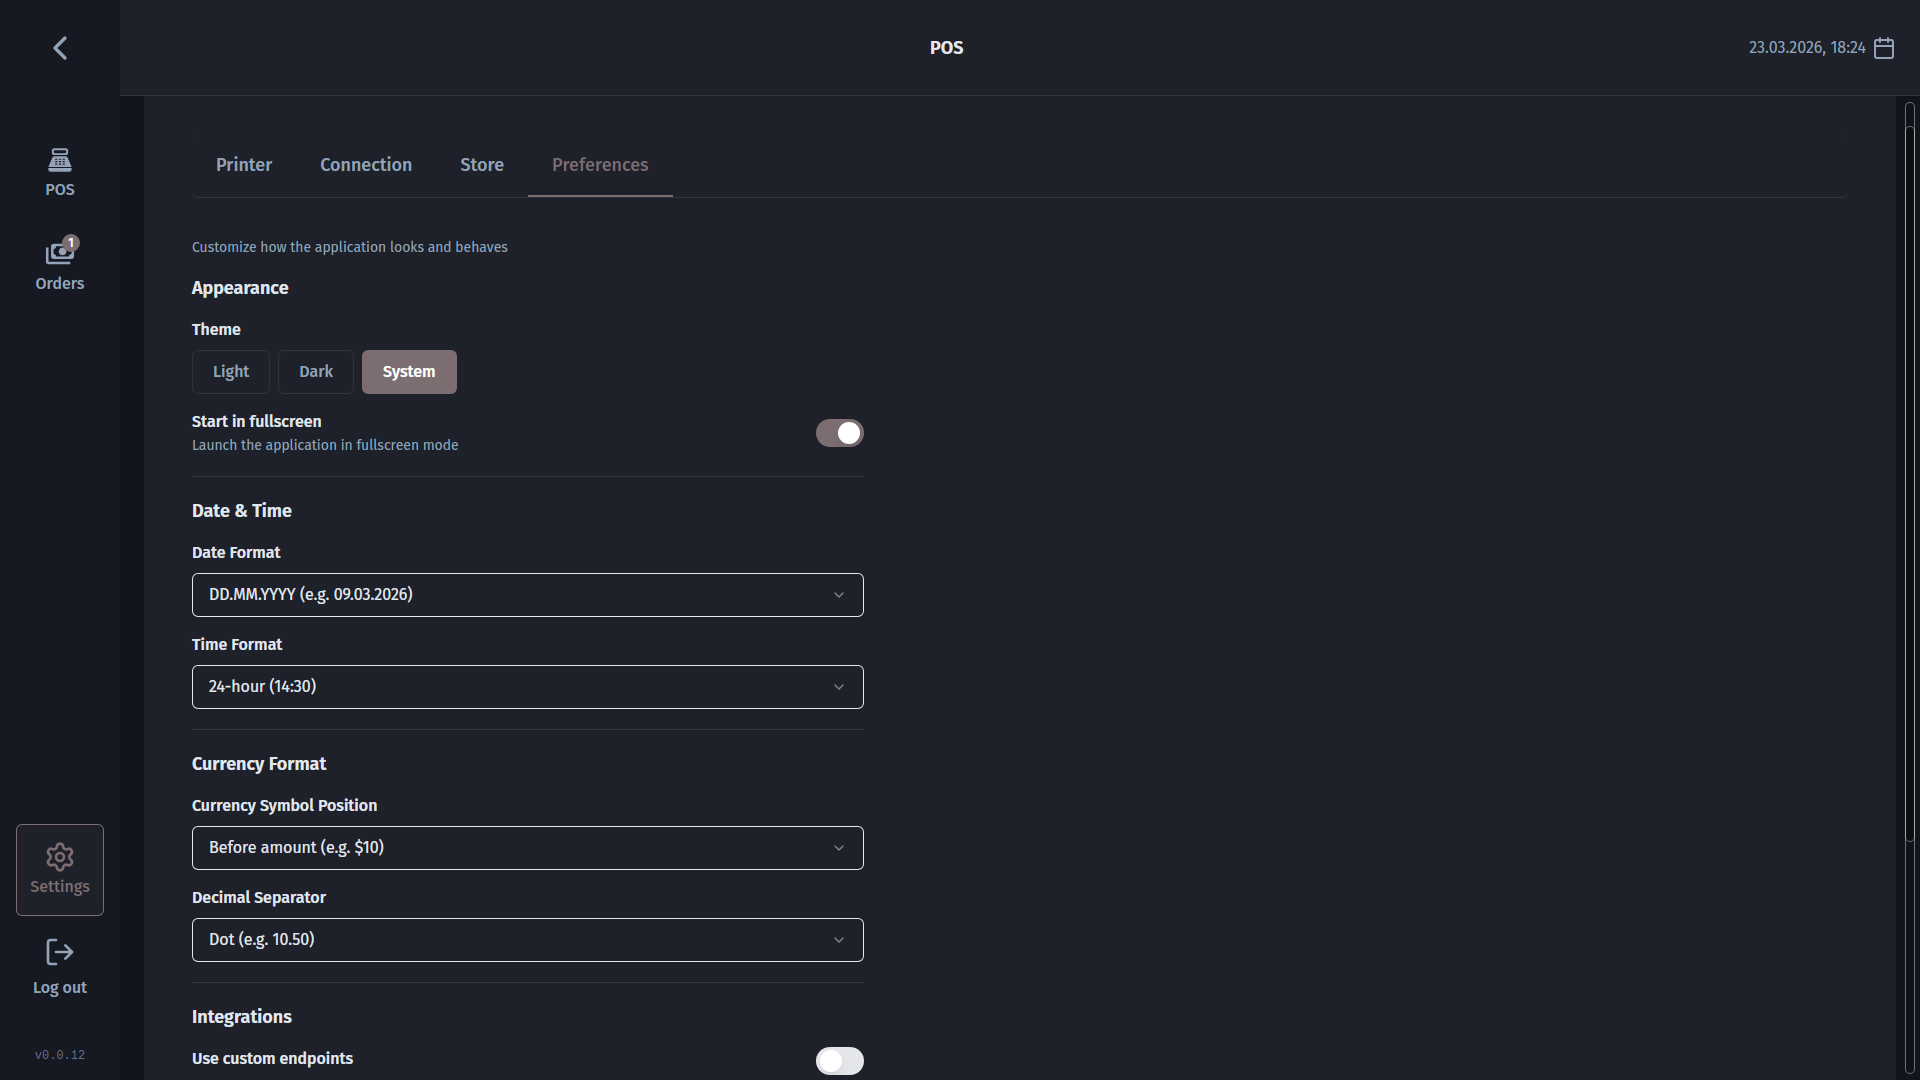
- Preferences - choose your display theme (Light, Dark, or System), currency symbol, and date format.
- Branding - set your company name, address, phone number, and upload a logo. These appear on every printed receipt.
FAQ
Why does Windows or macOS show a warning when I install the app?
The open-source release is not signed with a paid commercial certificate, so your operating system shows a security prompt the first time you run it. If you downloaded the file from pos.nari.ge, you can safely proceed. Businesses deploying to many machines can apply their own code-signing certificate to the build.
What printers are compatible?
Any 80 mm thermal receipt printer that accepts connections over a network (Wi-Fi or Ethernet) on port 9100 - for example, Epson TM-series or BIXOLON printers. Thermal printer = the till-roll type that prints receipts without ink cartridges. USB and Bluetooth connections are experimental and may not work on all systems yet.
Is barcode scanning required?
No - it is completely optional. Any product can be found and added using the search bar. If you plug in a USB barcode scanner, it is detected automatically. Full barcode-to-product lookup additionally requires the optional @narisolutions/medusa-plugin-pos companion plugin installed on your Medusa server.
Does the cash drawer always open after a sale?
It opens when configured correctly: the cash drawer must be connected to your thermal printer via the standard cable, and the printer must be set up in Settings -> Printers. When those conditions are met, the app sends the open command to the printer at the end of a completed sale.
Can I use Medusa POS on a tablet or phone?
An experimental Android build is available at pos.nari.ge. The desktop version (Windows, macOS, Linux) is the most stable and recommended for everyday retail use.